Installing the New Thermostat
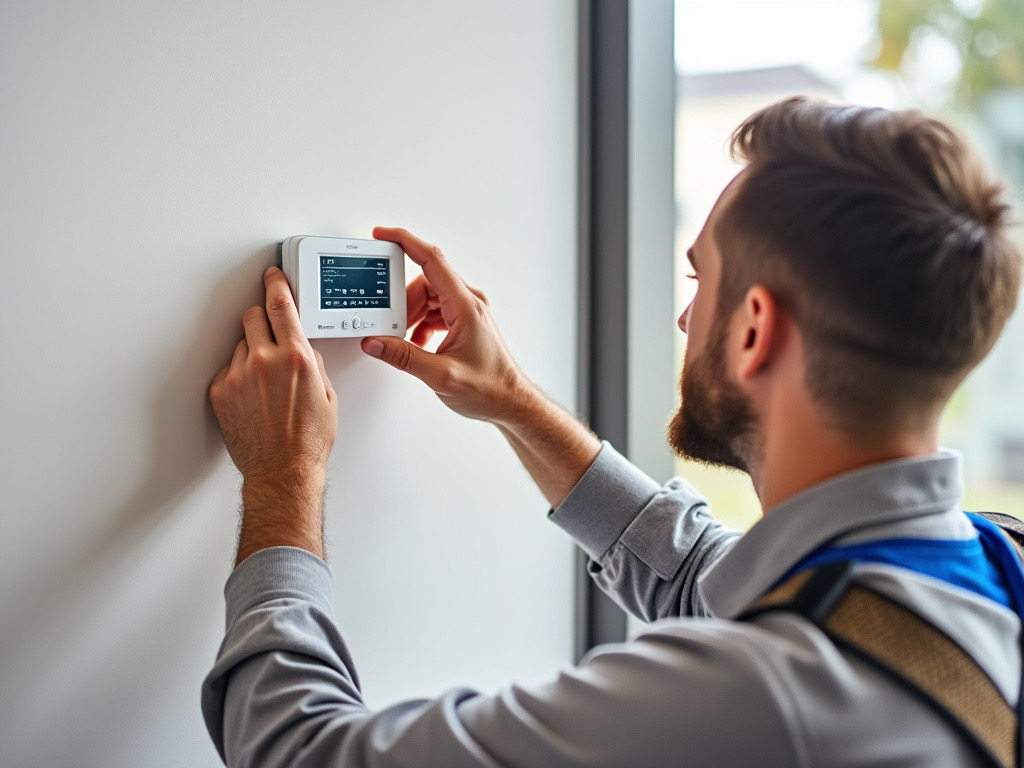
Before beginning the installation of a new thermostat, it's essential to gather the necessary tools and materials. Turn off the power to the heating and cooling system to ensure safety. Removing the existing thermostat involves unscrewing it from the wall and gently detaching it from the baseplate. Pay careful attention to how the wires are connected, as this will guide you in wiring the new unit. For those unfamiliar with the process, taking a photo of the current wiring can be helpful for reference.
Once the old thermostat is removed, it’s time to install the new one. Begin by attaching the baseplate to the wall, ensuring it is level. Insert the appropriate wires into their corresponding terminals on the new thermostat as documented in the user manual. After securing the wires, attach the thermostat to its baseplate. During this time, it's beneficial to consult resources related to Thermostat Installation and Repair, as they provide valuable insights into common pitfalls and troubleshooting tips.
Key Steps for Proper Installation
Before starting the installation of your new thermostat, gather all the necessary tools and materials. You will typically need a screwdriver, a level, and possibly a drill. Ensure the power to the HVAC system is turned off at the breaker box to prevent any electrical accidents during the process. Remove the old thermostat carefully, keeping track of how the existing wires are connected. Taking a photo can help during reinstallation.
Once you remove the old unit, it's time to prepare the wall for the new thermostat. Use a level to ensure the mounting plate is straight before securing it in place. Connect the wires according to the schematics provided with your new device. Expert guidance in resources like "Thermostat Installation and Repair" can further clarify any aspects of the wiring configurations. Once everything is connected, securely attach the thermostat to the mounting plate and turn the power back on to test the system.
Wiring the Thermostat Correctly
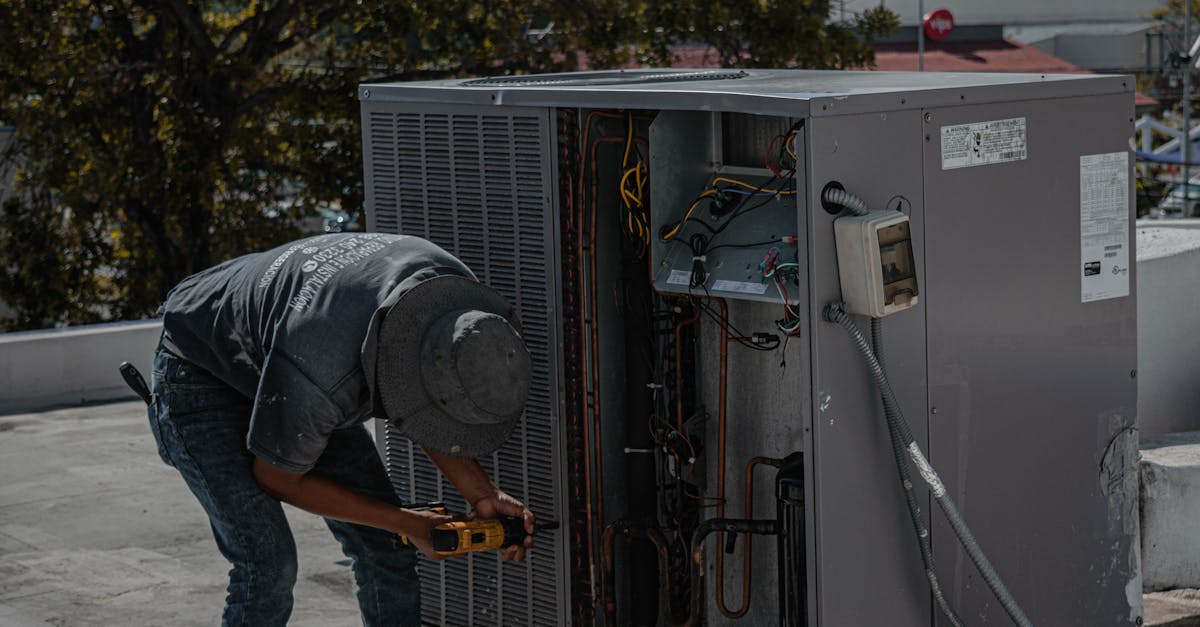
Wiring the thermostat correctly is crucial for ensuring it functions properly and efficiently. Begin by turning off the power to your heating and cooling system to avoid any risk of electric shock. Next, carefully remove the old thermostat and take note of how the wires are connected. Labeling each wire can help significantly during reinstallation, allowing you to connect them to the new device accurately.
When installing the new thermostat, consult the manufacturer’s instructions for the specific wiring configuration. Usually, wires will be connected to terminals labeled R, W, Y, and G, among others. It's essential to double-check that you're connecting the wires to the right terminals, as incorrect wiring can lead to system malfunctions. For those unfamiliar with electrical work or if you're unsure about the process, seeking assistance from professionals in Thermostat Installation and Repair may be a wise choice.
Understanding Wiring Configurations
Understanding wiring configurations is essential for a successful thermostat installation. Different systems may use various wiring setups, making it crucial to identify the existing wiring before replacing the thermostat. Familiarizing yourself with common wire colors and functions—such as red for power, white for heating, and yellow for cooling—can simplify the process. Properly deciphering these configurations minimizes the risk of error during installation, leading to more efficient operation of your heating and cooling systems.
For those engaged in thermostat installation and repair, it's important to consult the user manual of your specific thermostat model. These manuals often provide detailed diagrams of wiring setups tailored to different HVAC systems. Additionally, many modern thermostats come with labels on the terminals, which can guide you in matching your existing wires to the correct connections. Taking time to understand these configurations not only enhances the likelihood of a seamless installation but also ensures that your new thermostat functions optimally.
Configuring Settings After Installation
After the physical installation of your new thermostat is complete, the next focus shifts to configuring its settings. This step is crucial for ensuring that your HVAC system operates efficiently and meets your comfort needs. Depending on the model you have chosen, you may need to set the date and time, choose your preferred temperature ranges, and program heating and cooling schedules. Familiarizing yourself with the user manual can provide helpful guidance on customizing these settings to optimize performance.
Ensuring that you correctly configure your thermostat not only enhances comfort but also supports energy efficiency. Many modern thermostats come with features like smart scheduling and energy-saving modes. Engaging with these functions may result in significant cost savings over time. When considering options for Thermostat Installation and Repair, don't overlook the importance of proper configuration as part of the overall process.
How to Set Up and Program Your New Thermostat
After you have successfully installed your new thermostat, the next step involves setting it up and programming it to meet your needs. Start by powering on the device, which typically involves following on-screen prompts or using buttons to navigate through the setup process. Common configurations include entering your location and selecting your preferred heating and cooling schedules. Be sure to familiarize yourself with the different modes available, such as energy-saving settings or smart home integrations that enhance convenience.
Thermostat Installation and Repair often require an understanding of how to personalize settings for optimal performance. Once basic configurations are complete, delve into more advanced programming options, such as adjusting temperature thresholds, creating weekly schedules, or utilizing geo-fencing features. Take time to explore the user interface, as many modern thermostats come with intuitive apps that allow for remote management from your smartphone. This ensures your home remains comfortable while maximizing energy efficiency.
FAQS
Can I replace my thermostat without hiring an electrician?
Yes, many homeowners can replace their thermostat themselves as long as they follow the proper installation and wiring instructions.
What tools do I need to replace a thermostat?
You typically need a screwdriver, a drill (if necessary), wire strippers, and possibly a level to ensure the thermostat is installed straight.
How do I know which wires go where when installing the new thermostat?
It's important to label the wires when removing the old thermostat. If you didn't label them, refer to the installation manual that came with your new thermostat, which usually includes wiring configurations for different systems.
What should I do if I encounter an issue with the thermostat after installation?
First, double-check the wiring and ensure all connections are secure. If issues persist, consult the troubleshooting section of the thermostat's manual or contact customer support for further assistance.
Do I need to turn off power before replacing the thermostat?
Yes, it is highly recommended to turn off the power to your HVAC system at the circuit breaker before beginning the replacement to avoid any electrical hazards.